You know what Jams My Cams? Crashpads

Crashpads are an important part of bouldering. They keep us safe from the hard ground, though John Sherman may or may not have called us “pussies” for using them in REEL ROCK 10, and they also serve as impromptu packs and sleeping mats. Crashpads don’t actually “Jam My Cams,” but it is the misuse and abuse of of these critical pieces of gear that gets me worked up.
As you can see from our Rental Page, I started collecting used pads and even restoring some of them. This includes patching minor tears, re-padding broken down foam layers, and generally giving them a new purpose. All of these pads have stories, a history, and I have loved hearing how from the owners how these pads have contributed to their adventures. I love pads just as much as I love packs. I even made two crashpads, one for me and one for a friend, that are basically like Voltron because they can join together in a variety of configurations. That brings me to my first major thought about crashpad designs.
Designs and Styles
There are so many pads out there that it can be difficult to find what kind of pad you would like. It should suit your primary terrain, area coverage and depth (think highballs), storage ability, and budget. Sometimes these different styles compliment each other and sometimes they can create continuity problems when padding treacherous landing zones. Now, they are making pads with some wild additional features that the original masters would call crazy. All of these things make choosing a pad difficult, but here is a run down if you don’t already know.
1. Hinge – This is currently the most popular style for two reasons; it is easy to produce and it stores well. The most dangerous part of the straight hinge is that it creates a natural dead spot in the middle. Metolius was the first to experiment with the wedge hinge that helped to close the hole created by the hinge, and there is also Stonelick‘s crazy stepped hinge to close the hole. Another change was when Black Diamond purchased Franklin Climbing and updated the Mondo with straps on the underside of the hinge to keep it from opening. One of the worst things a hinged pad owner can do is store their gear in inside the pad. It is OK to temporarily do this while walking to the crag, but it can permanently damage the foam if forced to curve over your gear while in your basement.
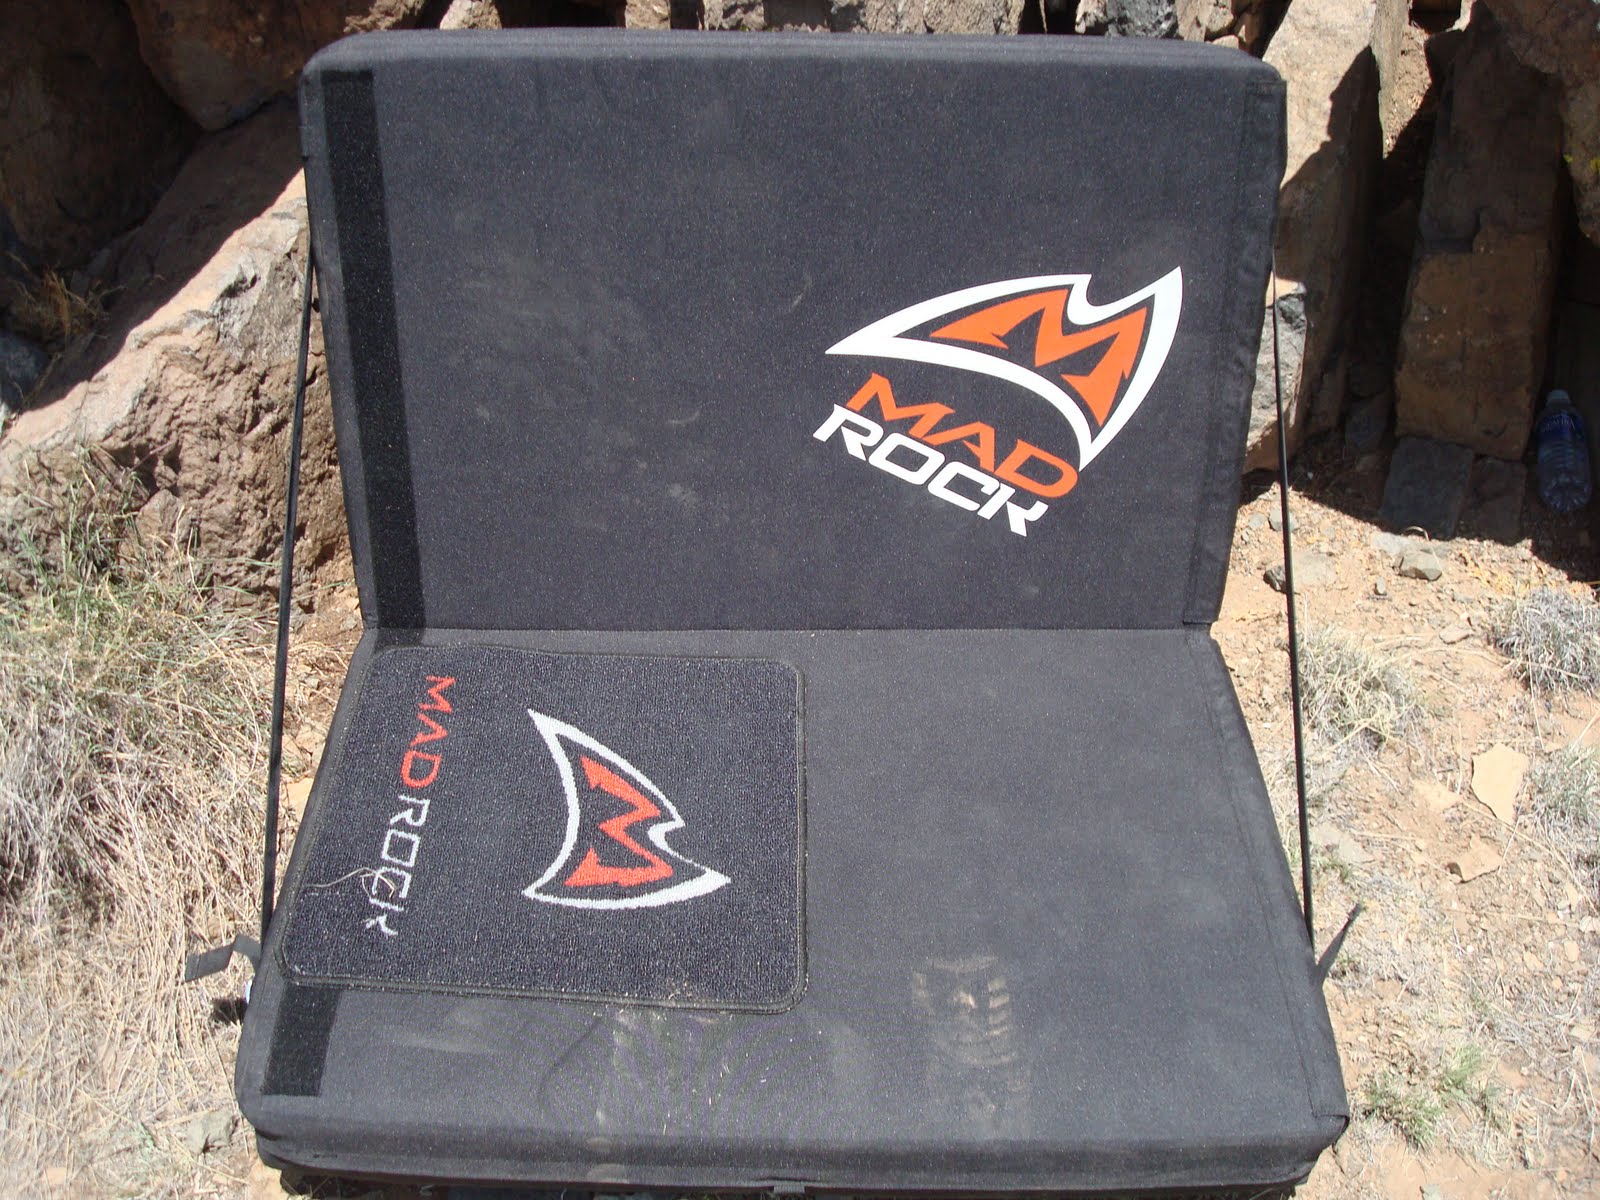
2. Taco – The original pads were basically squares of foam wrapped in fabric, and to make it easier to carry, they were folded in half. Kinnaloa was the first company to commercialize crashpads, but quickly went out of business. Cordless was the first to make a solid business plan and mass produce them (yes, I have one that I re-padded and it is available for rent). Of course, this was after the “carpet square” era. This style prevails in its simplicity to design and it also is convenient to stuff your gear inside as you hoof it out the boulders. There is little risk of a dead zone in the middle, a la the hinge design, but runs a different risk of creasing the top layer of foam from strapping it down too tight. Mad Rock now has the R3, which is actually a series of long cells that makes for more of a burrito rather than a taco.
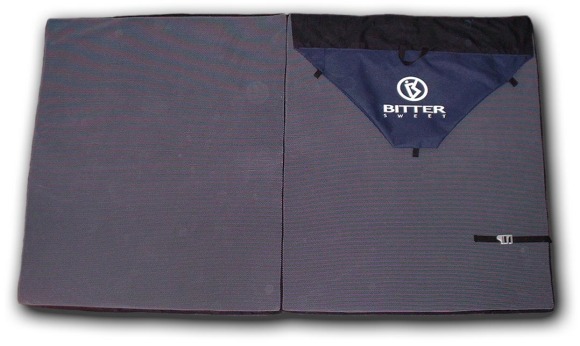
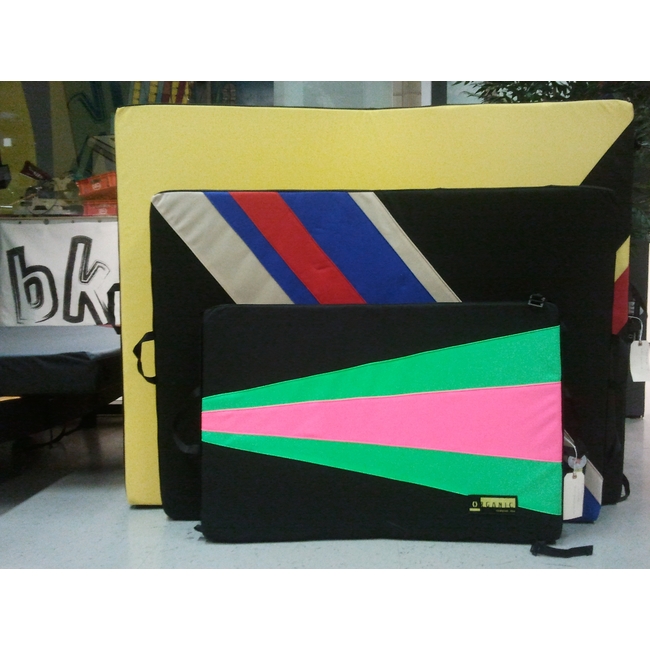
3. Combination – Few pads fall into this category, and I have to say that these have ended up being some of the most popular pads on the market. My actual favorite pad is the discontinued BitterSweet Double Wide (I have two). Fully open it measures 78 x 48 x 2. That is thin, but the pad in this mode makes for great traverse coverage and for a top lay to cover seams between other pads. Also, it fits inside most two-man tents for great bed. It has a hinge in the middle to make it a standard size of 48 x 39 x 4 and then it tacos to be carried on your back or with a handle. The current crowd favorite is Organic Pads…all of them. The top lay of closed cell foam is a continuous piece to close the hole over the hinge of the open cell foam. Not only that, Organic sources it’s foam of the highest quality and all of their pads are custom made in the U.S., Pennsylvania to be specific (Woo, Mid-Atlantic!)
4. Additional Features – There are so many features that have been added to pads, and no one pad has all of them. Varying number of flaps, pockets, and hinge features detailed above to improve safety. Mad Rock’s traditional pad also has a couch mode and can be Velcro-ed together with other Mad Rock pads for a larger, more continuous landing zone. Another major feature that is special to one company is the Flashed Ronin. It is filled with air! The FAT (Flashed Air Technology) has zero bonce and lasts longer than regular foam, but at a significant up front cost. Find you style, then find your features, and then fit it into your price range. If you can’t buy new, there are many used pads on the internet to start you quiver.
Care
Since we are going to assume that a crashpad will catch our falls then it makes sense to treat it with the same respect as a rope. Sure, the foam will get flattened and the fabric may get torn, but there are some things that can prolong the life of your pad. To help extend your pad’s life, here are some easy tips:
1. Proper Storage – This is one of the first things you notice about other people’s pads. If the foam creased or warped? Is there a dead spot in the pad? Pads that fold in the taco style are especially susceptible to creases in the closed cell top layer. If you have this style of pad, keep the pad open during storage and, if possible, during transportation. Also, when folding the pad, please do not kneel on it to strap it up, or sit on it when it is folded. Plus, the top layer of closed cell foam in some pads like to bubble from an improper fold so make sure it all lays flat to avoid a permanent bubble. With hinge style pads, make sure there is no gear inside the pad while storing, and for combination styles, all of these rules apply.
2. Lift and carry when possible – Yes, sometimes we need to drag a pad to get it under a climber as quickly as possible and that is understandable since it is for safety. Any other time, such as when moving between problems that are close to each other, or when moving to a new area don’t drag or throw your pad. Also, be aware of your pad placement to keep it our of serious mud and puddles as that is not good for the fabric shell or the soft, open cell foam.
3. Keep It Clean – Crashpads sit in the dirt, that is inevitable, but it does not mean that we can’t keep our pads clean. Unlike ropes, dirt will not jeopardize the safety specs of your pad, but it will contribute to regular wear and tear on the fabric. I am not saying that after every trip you should shed the shell and wash it, but at least dust it off before you put it away. If it ends up in the mud or in a puddle, then yes, wash it and/or let it dry properly. The shell is the first layer of defense and if it tears you could be letting more dirt into the padding or even spilling your pads guts.
4. Sharp Landing Zones – If there is a sharp rock or high root, try to elevate the surface around the object with additional pads and then add a another pad over top of that. These dangers not only making the landing zone uneven, they elevate the risk of puncturing the shell or even through the layers of foam with any fall.
Respect you pads, dirtbags!
-Tylor Streett, browses Craigslist and eBay weekly for new pads to buy, restore, and/or trade. He might have a problem.
